Web design & development
Fast, responsive websites that look sharp on every screen and turn visitors into customers.
Business and portfolio sites, landing pages, online stores, hosting and care plansDesign studio · Web · Brand · Apparel · Books · Apps
Websites, logos, apparel, books and apps from one small studio. Everything you put in front of customers looks like it belongs together, and you deal with the designer directly.
Request a quote → See our work ZenAnimator●
 Oexta Stop Motion●
 RipFrame●
 Oexta Prompt●
 Oexta Steps●
 Oexta Booth●
 Oexta Check-in●
 Oexta Clips●ZenAnimator●Oexta Stop Motion●RipFrame●Oexta Prompt●Oexta Steps●Oexta Booth●Oexta Check-in●Oexta Clips●
Services
Not sure what you need? Tell us where you are and where you want to be, and we will map out the right mix.
Fast, responsive websites that look sharp on every screen and turn visitors into customers.
Business and portfolio sites, landing pages, online stores, hosting and care plansLogos and identity systems that make you instantly recognisable, everywhere you show up.
Logo and identity, brand guidelines, social kits, flyers and signagePrint-ready graphics for tees, hoodies and merch that people actually want to wear.
Tee and hoodie graphics, merch drops, team and event apparel, screen print filesCovers that sell from a thumbnail and interiors that are a pleasure to read.
Front, back and spine covers, interior typesetting, eBook and print, KDP readyFrom clickable prototype to live product, designed for real people and shipped with care.
UX and UI, web and mobile apps, store and cloud deployment, ongoing updatesWork
Real pieces from our own studio and products. Client case studies are shared on request.
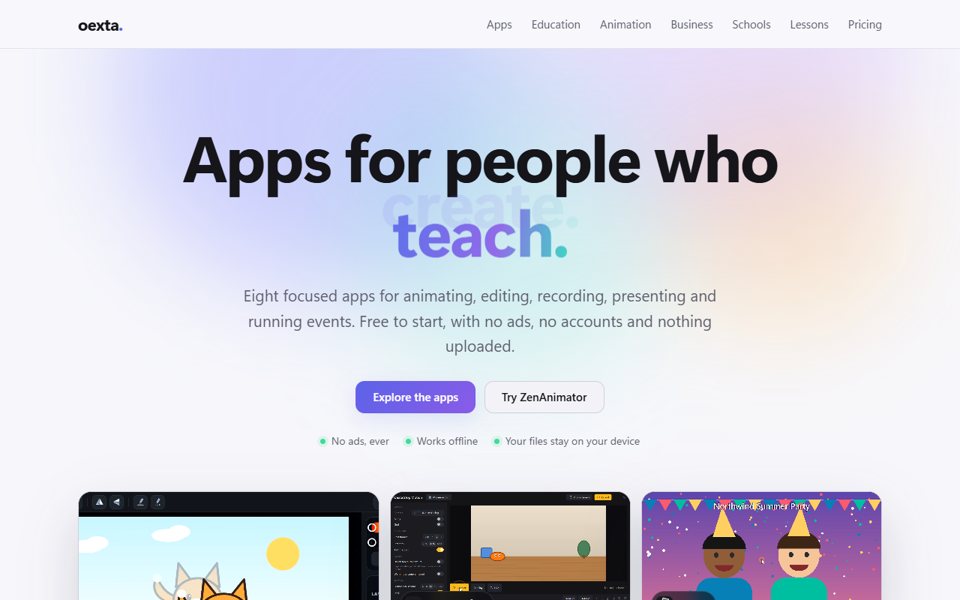
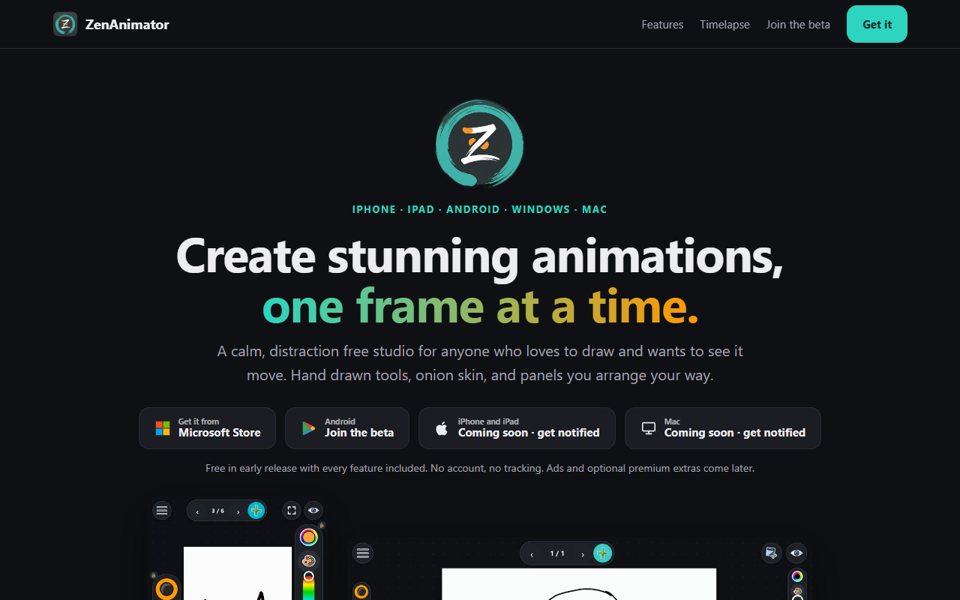
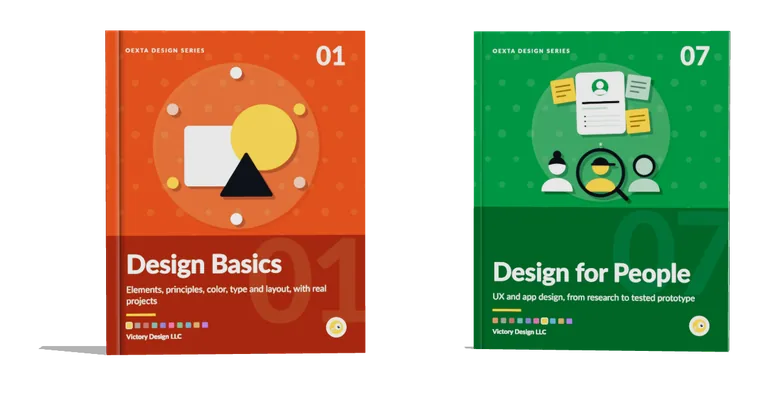
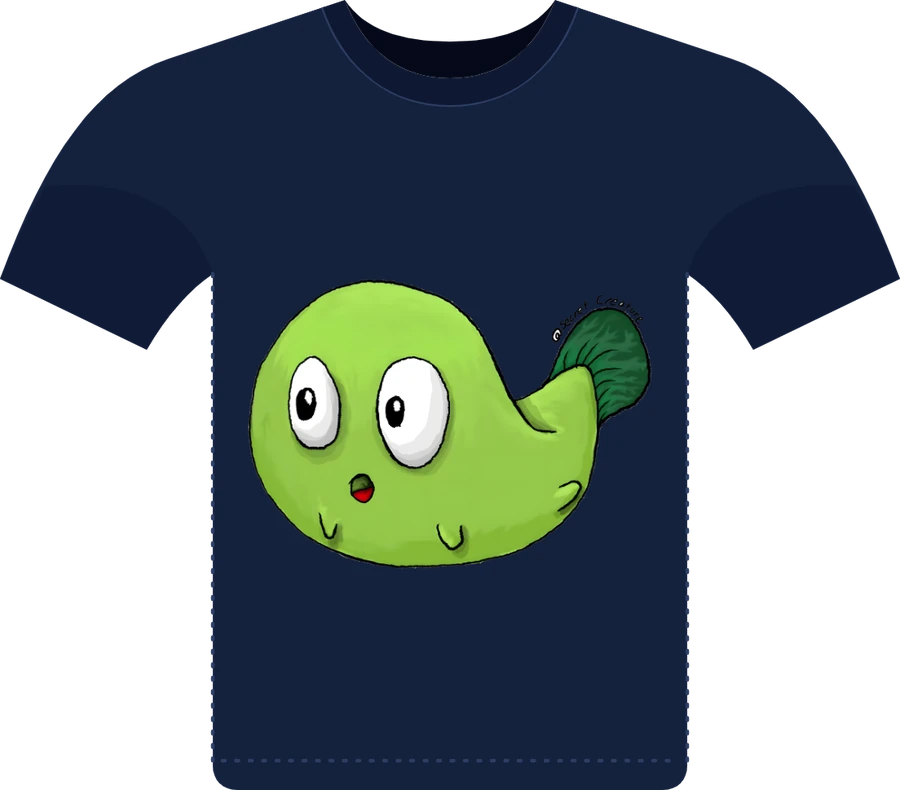
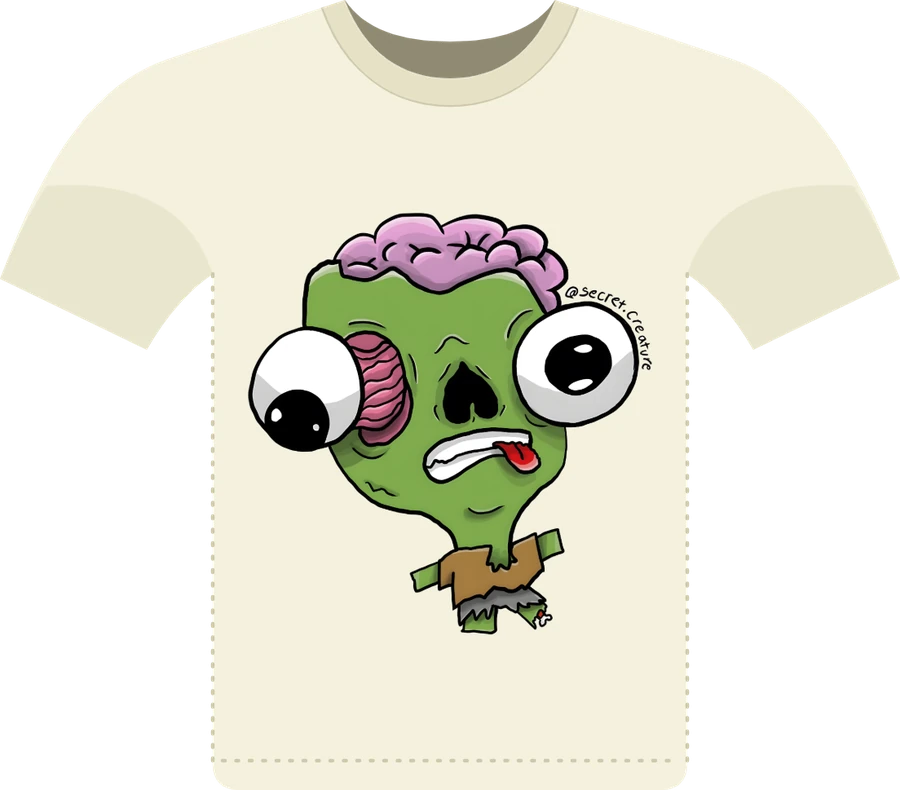
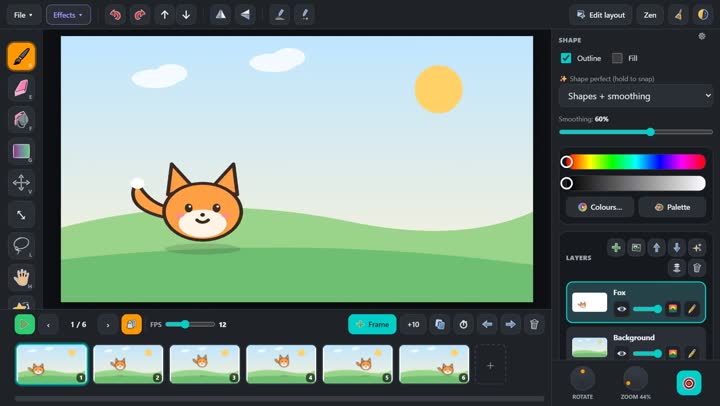
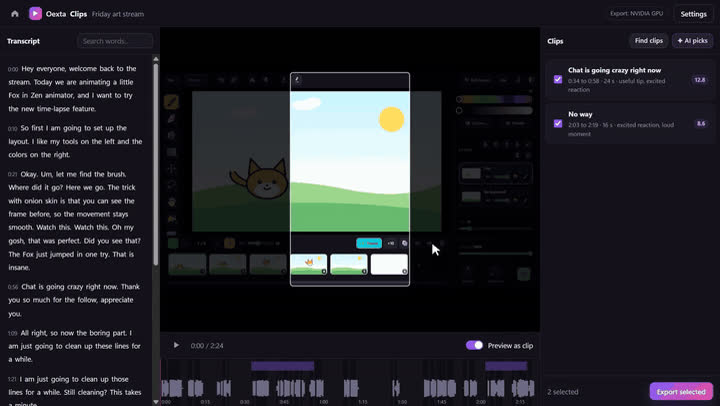

Our apps
The same care we bring to client work goes into our own apps, published under the Oexta brand. Hover a card for a peek inside.
 ZenAnimatorA calm, hand drawn animation studio. Draw frame by frame and export GIFs and videos.iPhone, iPad, Android, Windows
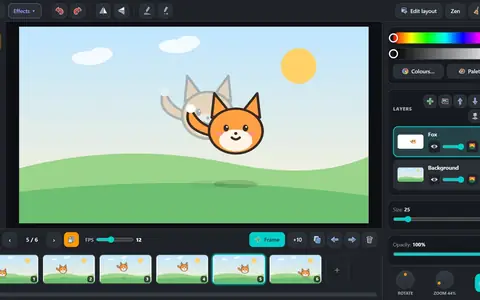 ZenAnimator →
 RipFrameScreen recordings people can follow, with a zoom lens and click ripples.Windows
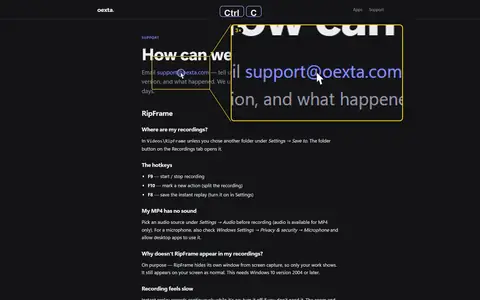 RipFrame →
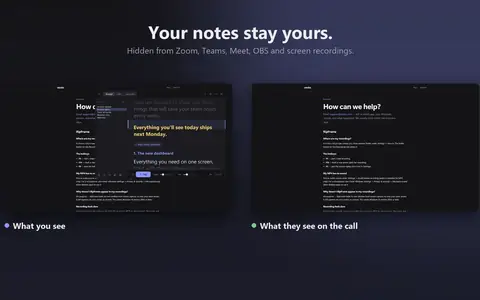
 Oexta PromptA teleprompter only you can see, hidden from every recording.Windows
 Oexta Prompt →
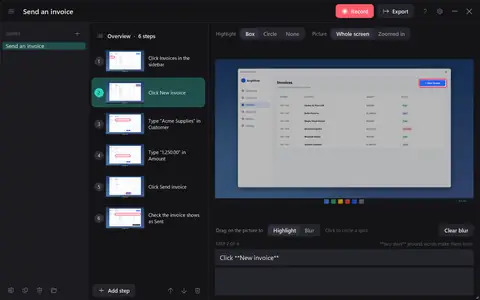
 Oexta StepsDo a task once and get a finished step by step guide.Windows
 Oexta Steps →
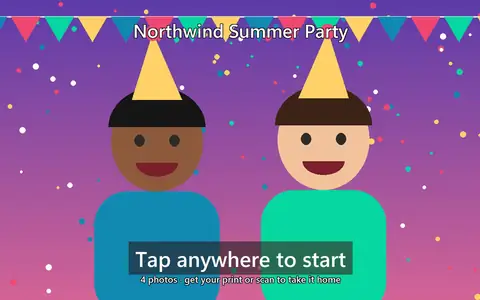
 Oexta BoothTurn any PC and webcam into a party photo booth.Windows
 Oexta Booth →
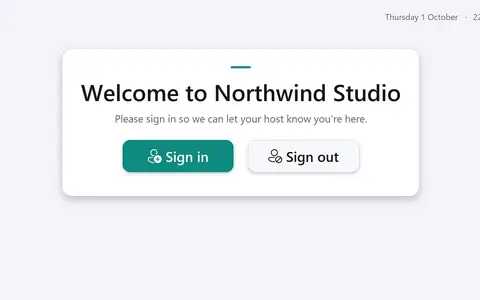
 Oexta Check-inA visitor sign in kiosk with signed agreements and photo badges.Windows
 Oexta Check-in →
 Oexta Stop MotionBring anything to life with onion skin and any shape of video.Phone, tablet, PC
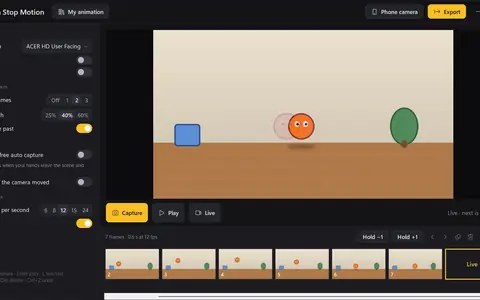 Oexta Stop Motion →
 Oexta ClipsTurn long recordings into ready to post shorts with captions.Windows
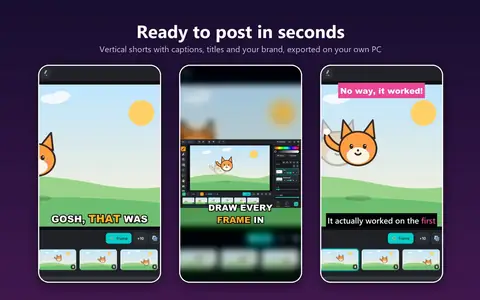 Oexta Clips →
Join the beta
Want to test a new version and tell us what to fix? Tap an app on your iPhone or iPad. You need the free TestFlight app from Apple. Your feedback shapes what we build next.
Process
A focused call about your goals, audience, timeline and budget. You get a clear proposal and fixed quote.
Concepts built around your brand, with rounds of feedback until it feels exactly right.
Websites and apps developed, files prepared for print, everything tested on real devices.
We deploy, hand over every file you own, and stay available for updates as you grow.
About the studio
Victory Design LLC brings web, brand, apparel, book and app design under one roof. Your website, your logo, your merch and your product all speak the same visual language, without juggling five different vendors.
You work directly with the designer, get honest recommendations, and own every file when the project is done.
Contact
A short note is plenty. We reply within one business day.
Request a quote →info@victorydesign.net@victorydesignllc